Last updated on March 7th, 2025 at 03:30 am
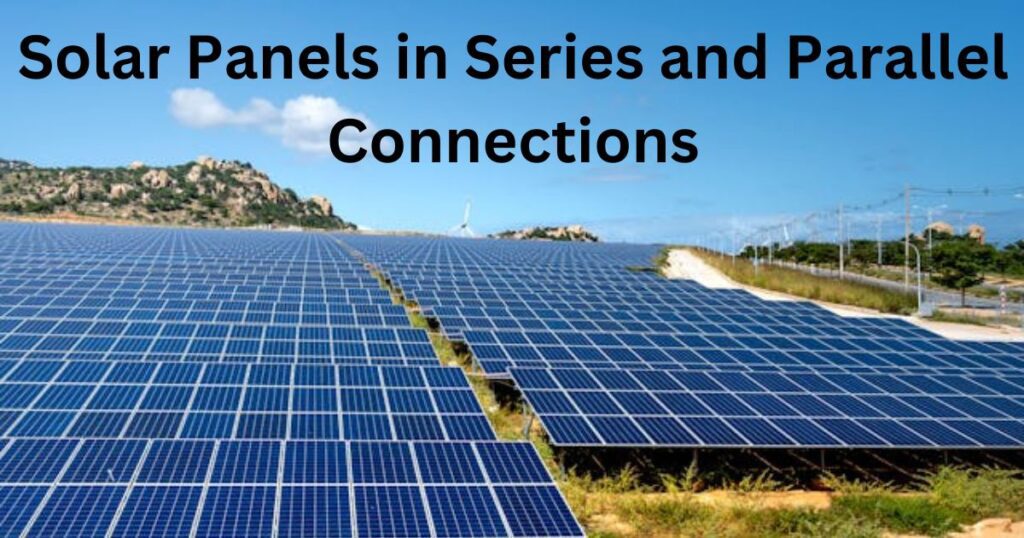
Knowing how to wire solar panels is crucial for anyone looking to set up a solar energy system. Correct wiring ensures that the system operates efficiently and safely, maximizing the energy output and longevity of the panels.
Whether you’re connecting panels in series or parallel, understanding the wiring process is key to optimizing the performance of your solar setup. Proper wiring also minimizes potential risks, such as electrical faults and fire hazards, ensuring a reliable and safe renewable energy source for your home or business.
After reading this article, you will have a complete knowledge about the different methods of wiring solar panels and the steps to wire your panels to a battery. You’ll also be able to determine whether connecting your panels in series or parallel is better for your specific situation.
- Series wiring increases system voltage, ideal for high-voltage inverters, but sensitive to shading.
- Parallel wiring increases system current, better for shaded environments, requires more wiring.
- Combination approach using both series and parallel configurations optimizes efficiency and reliability.
- Proper connectors, fuses, and wire sizes are crucial for a safe and efficient system.
How Do You Wire Solar Panels?
Basic Concepts and Terminology
Before you start wiring solar panels, it’s essential to understand some basic concepts and terminology related to solar energy systems:
- Current (Amps): This is the flow of electric charge through a conductor, measured in amperes (amps). Think of it as the amount of electricity flowing through a wire.
- Voltage (Volts): Voltage is the electrical potential difference between two points, measured in volts. It’s the force that pushes the electric charge through the circuit.
- Wattage (Watts): Wattage is the measure of electrical power, calculated as the product of current and voltage (Watts = Volts x Amps). It indicates how much power is being used or produced.
- Series Connection: In a series connection, solar panels are connected end-to-end, with the positive terminal of one panel connected to the negative terminal of the next. This increases the total voltage of the array while keeping the current the same.
- Parallel Connection: In a parallel connection, the positive terminals of all panels are connected together, and the negative terminals are connected together. This configuration increases the total current while keeping the voltage the same.
Tools and Materials Needed
Gathering the right tools and materials before you start wiring your solar panels is crucial for a smooth and efficient installation. Here’s what you’ll need:
- Solar Panels: The main components that capture sunlight and convert it into electricity.
- Wire Cutters/Strippers: These tools are essential for cutting wires to the correct length and stripping the insulation off the ends to make connections.
- Screwdrivers: Various screwdrivers are needed for securing connections and mounting equipment.
- Multimeter: A multimeter measures voltage, current, and resistance, helping you verify that your connections are correct and safe.
- MC4 Connectors: These connectors are designed specifically for solar panels, providing a secure and waterproof connection.
- Branch connectors or Y-connectors: They are used to connect multiple solar panels together in parallel, combining the positive terminals and the negative terminals into a single pair of outputs.
- Cables/Wires: Use cables that are rated for the current and voltage of your solar panel system. Typically, you’ll need both positive and negative wires.
- Inverter: This device converts the DC power generated by the solar panels into AC power that can be used by household appliances.
- Charge Controller: This device regulates the flow of electricity from the solar panels to the battery, preventing overcharging and prolonging battery life.
- Battery Bank: Batteries store the electricity generated by your solar panels, allowing you to use it when the sun isn’t shining.
- Fuse Box/Circuit Breaker: These protective devices prevent overcurrent and short circuits, ensuring the safety of your solar power system.
- Mounting Hardware: You’ll need various brackets, rails, and bolts to securely mount the solar panels and other components.
With a good grasp of these basic concepts and the necessary tools and materials on hand, you’re ready to dive into the wiring process.
How to Wire Solar Panels in Series
Explanation of Series Wiring
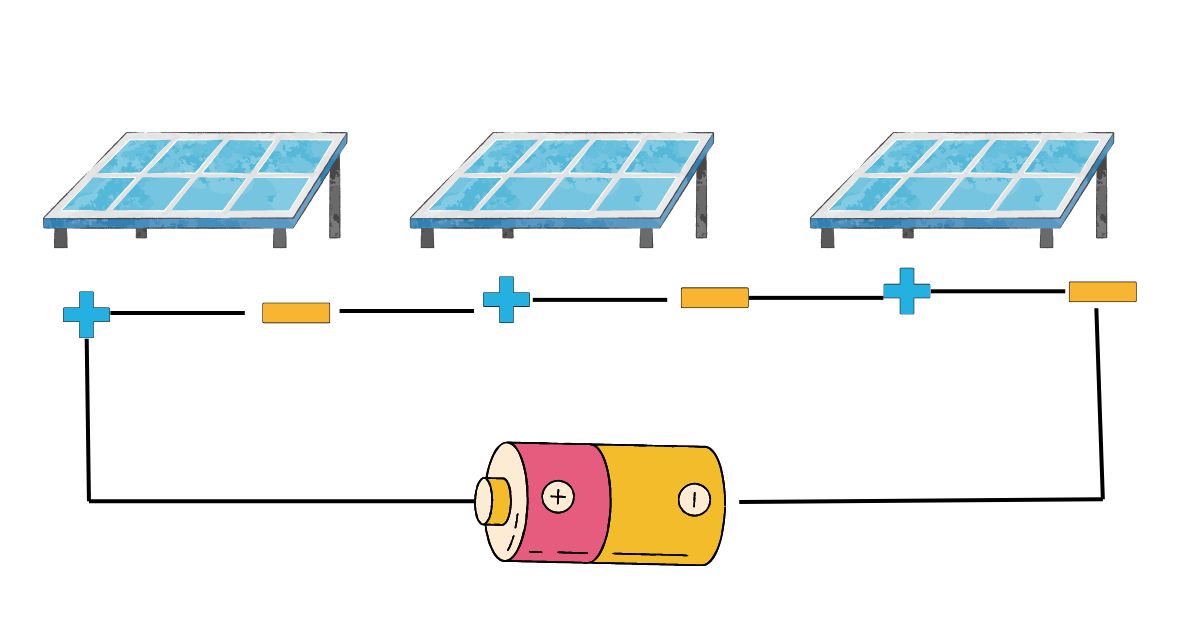
Wiring solar panels in series involves connecting the positive terminal of one panel to the negative terminal of the next panel, forming a chain. This increases the overall voltage of the system while keeping the current (amperage) the same.
Series wiring is beneficial when you need to match the voltage of your solar array to the input requirements of your inverter or charge controller.
- Voltage Addition: The total voltage of the series connection is the sum of the voltages of each panel. For example, if you have three 12V panels wired in series, the total voltage will be 36V.
- Current Constant: The current remains the same as the current rating of a single panel. For example, if each panel has a current of 5A, the total current for the series connection will still be 5A.
Step-by-Step Guide for Series Connection
Identify the Terminals:
Locate the positive (+) and negative (-) terminals on each solar panel. These are usually marked clearly on the junction box at the back of the panel.
Connect the Panels
Take the positive terminal of the first panel and connect it to the negative terminal of the second panel. This can be done using the pre-attached MC4 connectors or by manually connecting the wires if they don’t have connectors attached.
Repeat the Process:
Continue connecting the positive terminal of each panel to the negative terminal of the next panel until all panels are connected in series.
For example, with three panels, connect the positive terminal of Panel 1 to the negative terminal of Panel 2, then connect the positive terminal of Panel 2 to the negative terminal of Panel 3.
Final Connections
After all panels are connected in series, you will have one unconnected positive terminal on the first panel and one unconnected negative terminal on the last panel.
These terminals will be connected to your charge controller, inverter, or additional wiring depending on your system setup.
Connecting to the Charge Controller or Inverter
Take the unconnected positive terminal from the first panel and connect it to the positive input on your charge controller or inverter.
Similarly, take the unconnected negative terminal from the last panel and connect it to the negative input on your charge controller or inverter.
Securing Connections:
Ensure all connections are tight and secure. Loose connections can cause high resistance, leading to energy loss or potential safety hazards.
Use appropriate waterproof connectors (like MC4) for outdoor connections to prevent water ingress and corrosion.
Testing the System
Once all connections are made, use a multimeter to measure the total voltage of the series-connected panels. The reading should match the sum of the individual panel voltages. For example, if each panel is 12V, three panels in series should read around 36V.
After verifying that all connections are correct and secure, turn on your charge controller and inverter to start harnessing solar power.
Pros and cons of series connection
Pros of Series Connections
Increased Voltage
Wiring panels in series increases the overall voltage, which can be beneficial for systems that require higher voltage input, such as certain inverters and charge controllers.
Higher voltage systems can use thinner wires for the same power transmission, reducing costs and losses over long cable runs.
Compatibility with High-Voltage Inverters
Many modern grid-tied and off-grid inverters are designed to work with higher voltage inputs, making series connections a good fit.
Efficiency
By increasing voltage while keeping current low, series connections reduce the resistive losses in the wiring. This can lead to a more efficient system overall.
Simpler System Design
Series connections can simplify the system design by reducing the number of connections needed compared to parallel configurations.
Cons of Series Connections
Impact of Shading
If one panel in a series connection is shaded or malfunctioning, it can significantly reduce the output of the entire series string. This is because the current through the string is limited by the panel with the lowest current output.
Even partial shading on one panel can affect the performance of the entire series string.
Voltage Limitations
Care must be taken to ensure that the total voltage of the series-connected panels does not exceed the voltage limits of the inverter or charge controller. Exceeding these limits can damage the equipment.
Safety Considerations:
Higher voltage systems can pose greater safety risks, including electrical shock and arc flash hazards. Proper safety precautions and equipment are essential.
How to Wire Solar Panels in Parallel
Explanation of Parallel Wiring
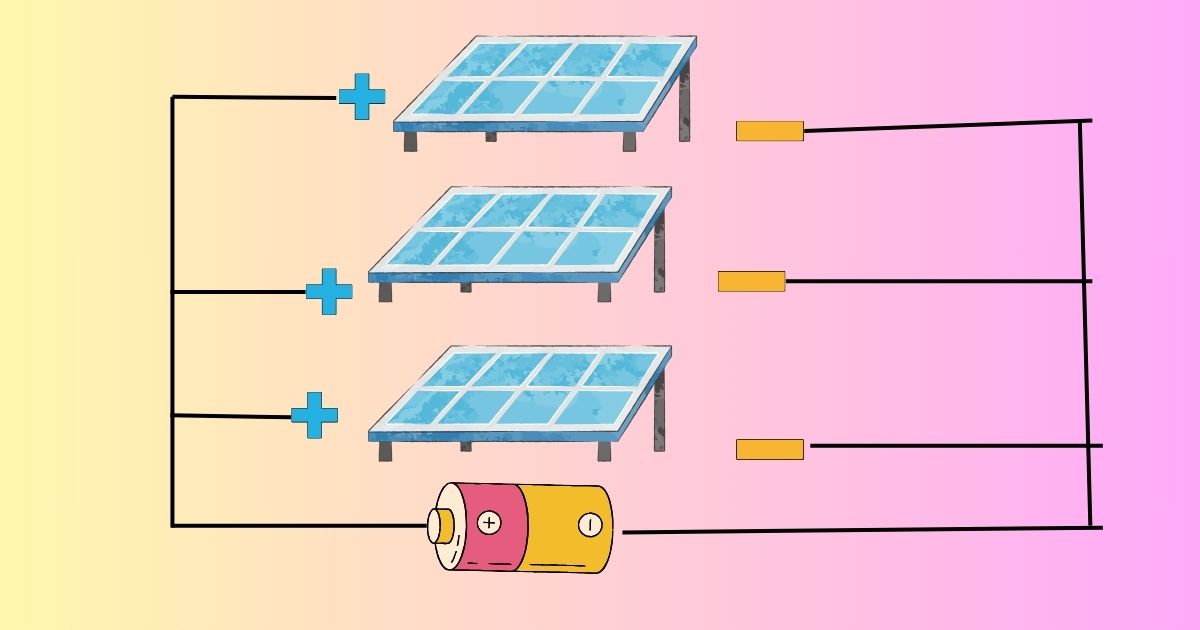
Wiring solar panels in parallel involves connecting all the positive terminals of the panels together and all the negative terminals together. This configuration increases the overall current (amperage) of the system while keeping the voltage the same as a single panel.
Parallel wiring is beneficial when you need to match the current requirements of your inverter or charge controller or when you want to reduce the impact of shading on individual panels.
- Current Addition: The total current of the parallel connection is the sum of the currents of each panel. For example, if you have three 12V panels each producing 5A, the total current will be 15A.
- Voltage Constant: The voltage remains the same as the voltage rating of a single panel. For example, if each panel is 12V, the total voltage for the parallel connection will remain 12V.
Step-by-Step Guide for Parallel Connection
Identify the Terminals
Locate the positive (+) and negative (-) terminals on each solar panel. These are usually marked clearly on the junction box at the back of the panel.
Use Branch Connectors:
Obtain branch connectors (Y-connectors), which allow multiple panels to be connected in parallel easily.
Connect the Panels
Connect the positive terminal of each panel to one branch of the Y-connector for positive terminals.
Connect the negative terminal of each panel to one branch of the Y-connector for negative terminals.
Combine the Outputs
The Y-connectors will combine the currents from each panel while keeping the voltage the same. You will have a single positive output wire and a single negative output wire from the Y-connectors.
Connecting to the Charge Controller or Inverter
Connect the combined positive wire from the Y-connector to the positive input on your charge controller or inverter.
Connect the combined negative wire from the Y-connector to the negative input on your charge controller or inverter.
Testing the System:
Use a multimeter to measure the total current at the combined output to ensure it matches the expected sum of the individual panel currents. Verify that the voltage is consistent with the rating of a single panel.
After verifying that all connections are correct and secure, turn on your charge controller and inverter to start harnessing solar power.
Pros and Cons of Parallel Connections
Pros of Parallel Connections
Increased Current
Wiring panels in parallel increases the overall current, which is beneficial for systems that require higher current input, such as certain inverters and charge controllers.
Parallel systems perform better in low light conditions because each panel operates independently, allowing the system to generate power even if some panels are shaded or receive less sunlight.
Improved System Reliability
If one panel fails or is shaded, it does not significantly impact the performance of the other panels. Each panel contributes independently to the overall current.
Since each panel operates at its own voltage, partial shading on one panel affects only that panel, not the entire system.
Simpler Voltage Management
The system voltage remains the same as the voltage of a single panel, making it easier to match with batteries, inverters, and other system components designed for specific voltage ratings.
Cons of Parallel Connections
Increased Wiring Complexity
Parallel connections require more wires and connectors, which can increase the complexity and cost of the installation.
Higher current requires larger gauge wires to handle the increased amperage safely, potentially increasing material costs.
Higher Current Challenges
Components such as fuses, charge controllers, and inverters need to be rated for higher currents, which can limit the choice of components and increase costs.
Higher current can lead to increased heat generation in wires and connectors, requiring careful management to avoid overheating.
Potential for Imbalanced Loads
Ensuring that all panels share the load equally can be challenging, especially in systems with panels of varying efficiencies or orientations.
If panels have different current ratings or outputs, it can lead to imbalanced currents and potential overcurrent issues in some parts of the system.
Complexity in System Protection
Overcurrent protection devices such as fuses and circuit breakers need to be appropriately rated and placed in the system to protect against short circuits and other faults.
Which is better: Solar Panels in Series or Parallel?
Choosing between series and parallel depends on your specific situation. If your setup requires high voltage to meet the specifications of your inverter or if you want to minimize energy loss over long distances, series wiring might be the way to go.
However, if your panels are in an area prone to shading or if you prioritize system robustness and ease of expansion, parallel wiring could be more beneficial.
Ultimately, many solar installations use a combination of both series and parallel connections to balance the benefits and mitigate the drawbacks of each method.
By understanding your system’s needs and environmental conditions, you can make an informed decision that maximizes efficiency, reliability, and safety.
Conclusion
Deciding how to wire your solar panels—whether in series, parallel, or a combination of both—depends on your specific needs and environmental conditions. Series wiring boosts voltage and can be more efficient for long cable runs, but it’s sensitive to shading.
Parallel wiring increases current and offers greater reliability in shaded areas but requires more wiring and larger connectors. By understanding the pros and cons of each method, you can design a solar power system that maximizes efficiency, safety, and performance, ensuring you get the most out of your solar investment.
Frequently Asked Questions (FAQs)